
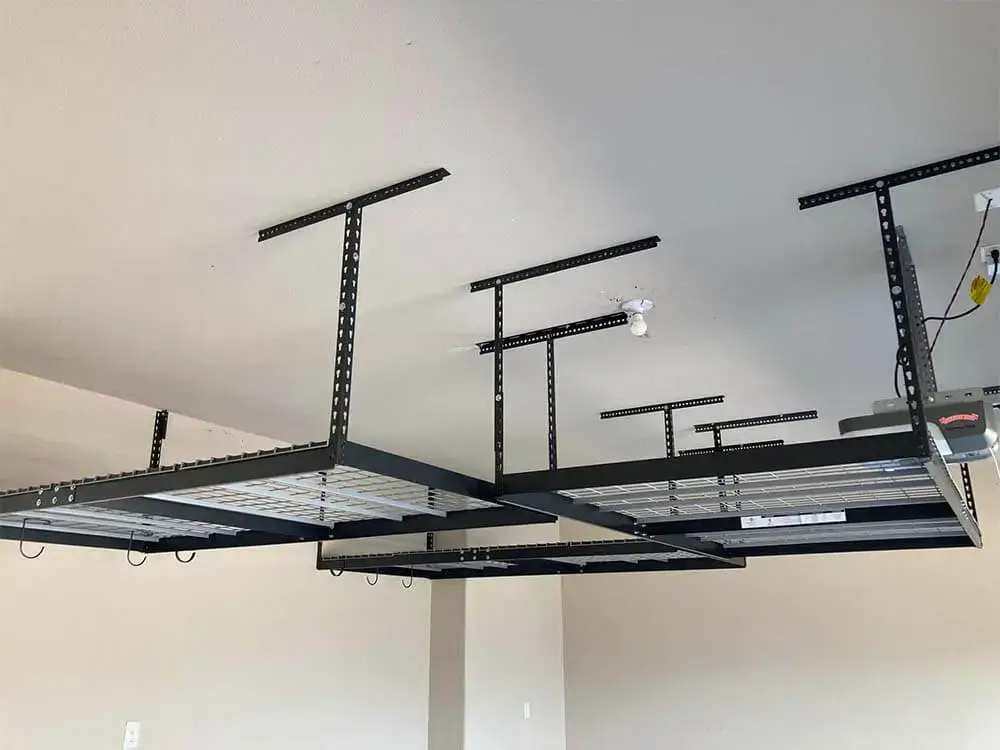
In today’s world, where every square foot counts, homeowners and DIY enthusiasts are constantly looking for smart solutions to declutter and organize their spaces. One of the most effective—and often underutilized—areas for extra storage is the ceiling. Retractable ceiling storage systems allow you to take advantage of overhead real estate in your garage, basement, or utility room, freeing up floor space and keeping your belongings safe and accessible. This guide will explore the benefits, types, installation considerations, and tips for maintaining retractable ceiling storage.
Why Choose Retractable Ceiling Storage?
Maximized Space Utilization
Standard shelving and cabinets eat into floor and wall space. By moving storage overhead, you reclaim valuable real estate for parking, work areas, or play.
Protection from Damage
Items stored on the ceiling are less susceptible to moisture, pests, and accidental bumps from tools or vehicles.
Easy Accessibility
Modern retractable systems use pulleys, winches, or electric lifts, so you can raise and lower storage platforms with minimal effort.
Types of Garage Ceiling Storage Systems
Manual Pulley-Style Racks
Utilize a simple pulley and cable system.
Cost-effective and reliable, but require a bit more muscle to lift heavy loads.
Crank-Operated Winch Systems
Feature a hand crank or gear mechanism to raise and lower the platform.
Offer better mechanical advantage for heavier items.
Electric Lift Units
Powered by an electric motor and controlled via remote or wall switch.
Ideal for frequent use or loading large, bulky items.
Fold-Down Ceilings
Consist of hinged panels that drop down for easy access.
Often finished with shelving or hooks integrated into the panel itself.
Key Considerations for Installation
Ceiling Height and Clearance
Measure from the finished floor to the joists. Ensure enough headroom when the platform is both raised and fully lowered.
Load Capacity
Check the system’s rated weight limit. Common capacities range from 100 kg (220 lb) for manual racks up to 350 kg (770 lb) or more for electric lifts.
Mounting Structure
Secure mounting to ceiling joists or cross-beams is crucial. Avoid anchoring solely to drywall or thin sheathing.
Safety Features
Look for locking pins or automatic brakes that prevent accidental descent.
Installation Steps Overview
Locate and Mark Joists
Use a stud finder to identify ceiling joists. Mark mounting points precisely.
Assemble the Storage Platform
Build or adjust the platform’s frame according to manufacturer instructions.
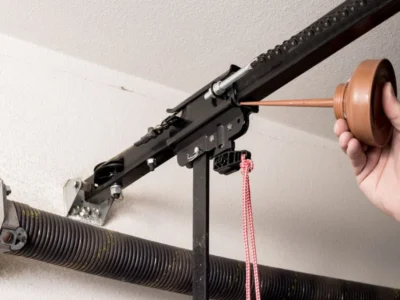
Attach Pulley or Motor Assembly
Secure the lifting mechanism to joists, ensuring it’s level.
Connect Cables/Chains
Thread cables through pulleys and attach to the platform corners.
Test and Adjust
Perform several test lifts with light loads. Adjust tension, leveling, and safety stops as needed.
Best Practices for Organization and Maintenance
Evenly Distribute Weight
Place heavier items near the center of the platform to prevent tilt or undue stress on one side.
Label Bins and Totes
Use clear, labeled containers so you know exactly what’s stored overhead.
Routine Inspections
Check cables, pulleys, and mounting points every six months for wear or corrosion.
Lubricate Moving Parts
Apply a light machine oil to pulleys and winch gears annually to ensure smooth operation.
Retractable ceiling garage storage is a transformative upgrade for any home or workspace, maximizing usable space and protecting your belongings. By choosing the right system—manual, crank-operated, or electric—and following best practices for installation and upkeep, you can enjoy a clutter-free environment and make the most of every inch of your ceiling.
Whether you’re a weekend DIY warrior or a professional organizer, installing a retractable ceiling storage system could be the key to reclaiming your garage floor and simplifying your life. Ready to lift your storage game? Start planning your ceiling storage project today!


Comments