
Floods move fast and leave hidden moisture in walls, floors, and cavities. The first two days decide whether you save or face extended tear-out later. Use this hour-by-hour plan to stabilise safety, extract water, prevent mould, and line up verified flood damage repair. Document everything; clear evidence speeds approvals and keeps costs defensible.
0–2 Hours: Make The Area Safe
Shut off power in affected zones and avoid sagging ceilings or bowed walls. Keep children and pets out. If water is from outside or sewage, assume contamination and upgrade PPE: gloves, boots, eye protection, and a P2/N95 respirator. Before moving things, take pictures of the rooms and film a quick video tour; these documents will support your claim and help contractors clean up water damage.
2–4 Hours: Stop Ingress And Triage Contents
Use temporary coverings, tarps, or sandbags to stop additional flooding. Elevate furniture onto blocks and move dry goods to a secure area. Keep porous items (textiles, books) away from hard surfaces. Soft items were bagged to minimise cross-contamination and smell. When appropriate, give documents and electronics priority for expert recovery.
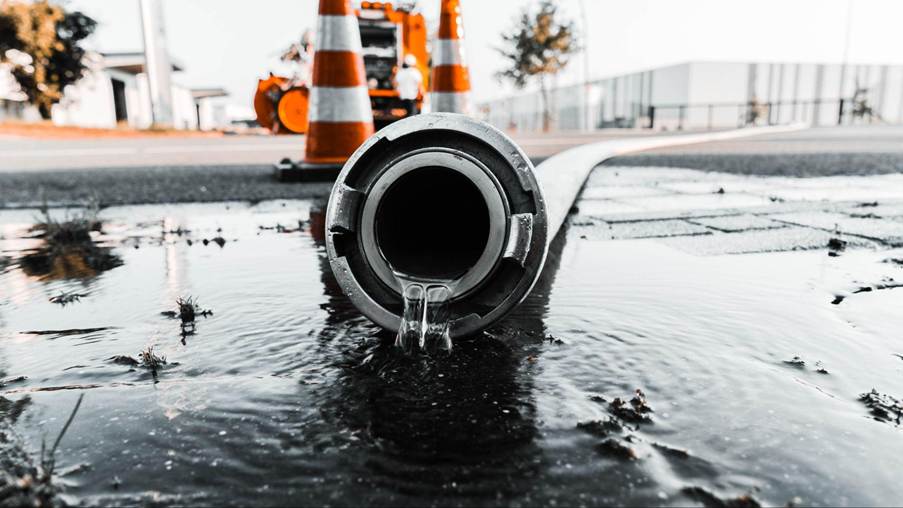
4–8 Hours: Extract Standing Water Correctly
Use wet vacs and submersible pumps with RCD protection. Push water towards capture points, not into clean rooms or wall voids. Pull up rugs, detach skirting that has visibly swelled, and open low cabinetry kickboards to release trapped water. Fast, controlled extraction shortens the drying cycle and limits secondary damage.
8–12 Hours: Start Controlled Drying
Set fans to move air across wet surfaces and deploy dehumidifiers sized to the volume; airflow without dehumidification simply redistributes moisture. Keep doors to unaffected rooms closed. If outside air is drier than inside, crack windows; if not, keep the envelope closed to let machines work. Empty dehumidifier tanks frequently or set continuous drain.
12–18 Hours: Map Moisture And Decide On Strip-Out
Use a moisture meter (or have a contractor do so) to log readings for walls, floors, and framing. Mark “wet lines” with painter’s tape. Porous materials like saturated gypsum board, fibreboard skirting, and insulation usually need removal; masonry and solid timber can often be dried in place. A clear salvage/strip-out plan makes flood damage repair faster and cheaper.
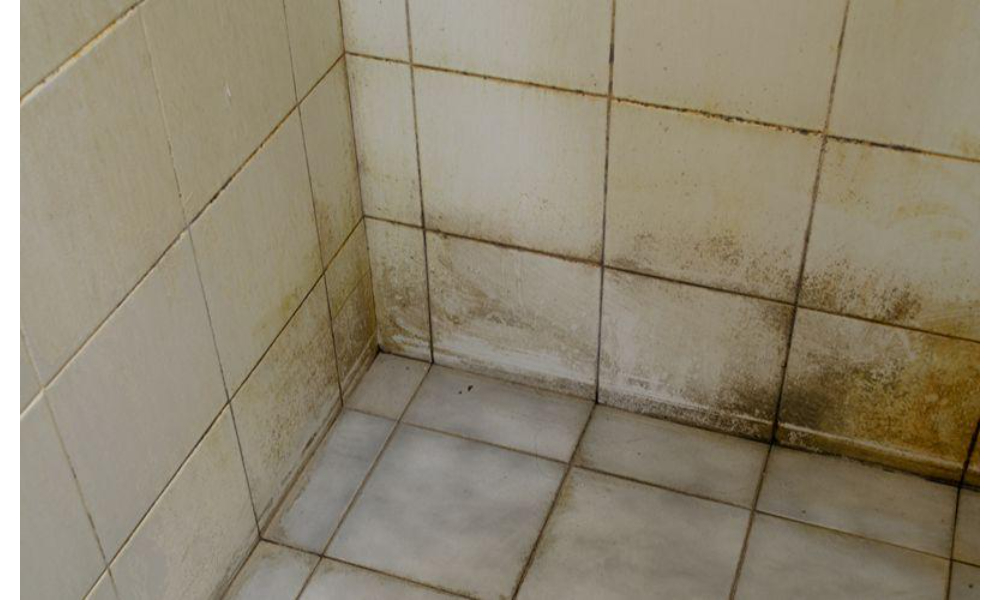
18–24 Hours: Establish Containment And HEPA Cleaning
Set up plastic containment with a zipper doorway around the work zone and run a HEPA air scrubber to control aerosols. HEPA-vacuum all surfaces to remove fine debris and spores, then damp-wipe with appropriate detergent. Avoid dry brushing that scatters contaminants. This step protects clean areas and prepares surfaces to dry evenly.
24–30 Hours: Open Hidden Cavities And Vent Assemblies
Moisture hides behind skirting, in toe-kicks, under floating floors, and inside wall bases. Drill weep holes along the lowest plasterboard edge in masked lines, remove baseboards where necessary, and lift a board at thresholds to inspect subfloors. Instead of relying on surface air to reach the core, employ through-floor or under-carpet drying systems in areas with excessive subfloor moisture.
30–36 Hours: Stabilise HVAC And Air Quality
Replace filters with higher-efficiency media and keep affected HVAC zones off until cleared. If running for dehumidification, isolate returns from dirty zones. Odour control should follow cleaning and drying, not mask them. Log indoor temperature and relative humidity; stable, declining RH shows drying progress and supports your insurer’s file.
36–42 Hours: Verify Progress And Adjust Equipment
Re-measure mapped points. If readings plateau, increase dehumidification capacity, reposition air movers to break boundary layers, or add targeted heat to drive evaporation. Keep daily meter logs with photos. Documenting that materials are trending to target moisture content keeps flood damage cleanup accountable and avoids premature rebuilding.
42–48 Hours: Plan Repairs And Prevention
When moisture drops toward targets and contamination is addressed, schedule rebuild: antimicrobial or stain-blocking primers (on dry substrates), reinstatement of insulation with appropriate vapour control, mould-resistant boards in wet rooms, and resealing at wet joints. A punch-list with dates and responsibilities turns stabilisation into verified flood damage repair.
Conclusion
Speed matters, but method matters more. Make the area safe, stop ingress, extract quickly, and dry with measurement rather than guesswork. Contain, clean with HEPA protocols, open hidden cavities, and track numbers to target. Then rebuild with materials and detailing that resist future events.
Contact BELFOR to deploy rapid pumping and HEPA-controlled drying, receive moisture maps with daily meter logs, and coordinate insured repairs through to independent clearance.


Comments